File menu
Load file
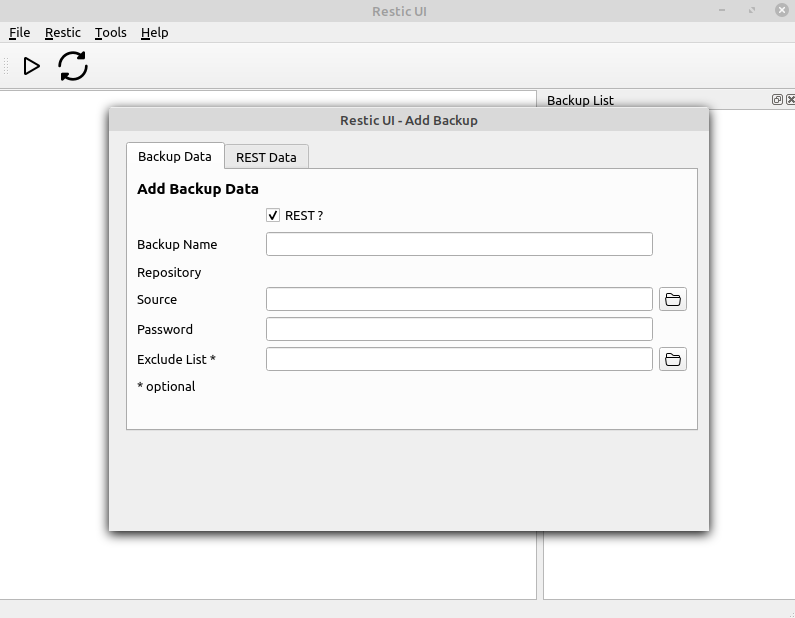
For each backup we store the following data in a JSON file.
Backup Data
- name
- repository
- source
- password (*)
- init
- exclude (*)
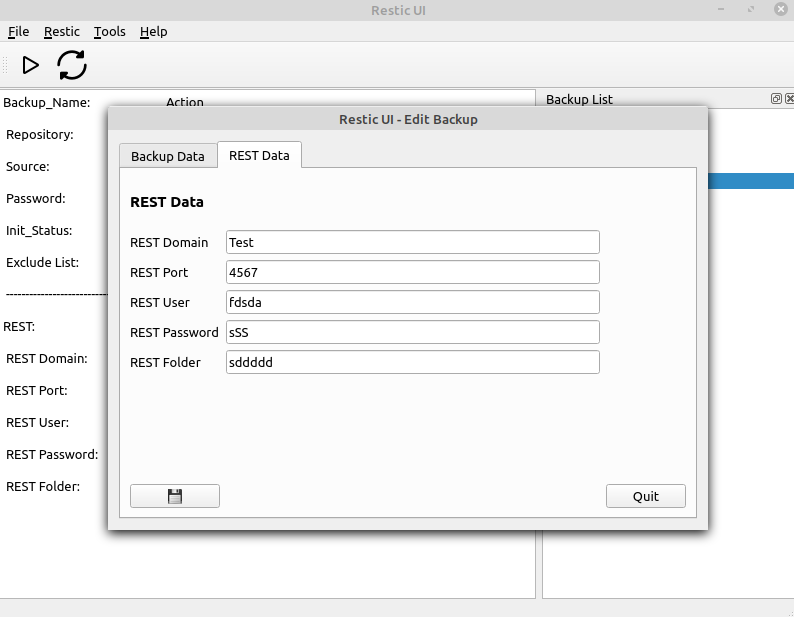
REST Data
- REST Domain
- REST Port
- REST User
- REST Password
- REST Folder
(*) optional
| Data |
Explanation |
| BACKUP DATA |
|
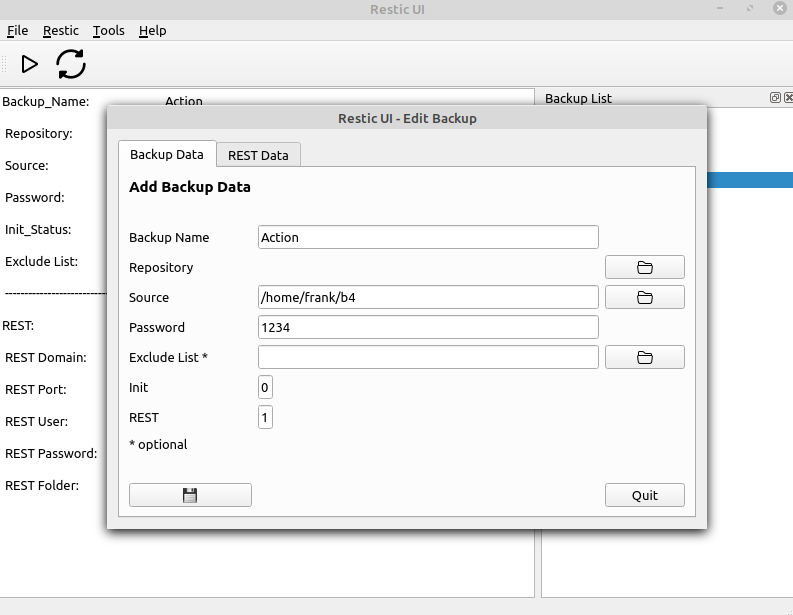
| name |
The name of the backup, this name must be unique |
| repository |
The path of the backup |
| source |
The path of the data to be saved |
| password |
The Restic password used to encrypt the data |
| init |
Status whether the backup has already been initialized. 1 = done 0 = not done |
| exclude |
Path to exclude.txt |
| REST DATA |
|
| REST Domain |
Domain from REST-server example.com |
| REST Port |
Port from REST-server |
| REST User |
username from HTTP-user |
| REST Password |
password from HTTP-user |
| REST Folder |
Folder on REST-server for storing backup |
Open Repo (since 1.5.1)
Every now and then I have a repo lying around here somewhere that I want to take a look at. Comes very often from testing. I want to take a look before I delete it.
- For opening the repo the password is needed.
- The data of the repo is attached to the backup_list.json.
Now you can look inside, list snapshots and so on.
What you can't do is a new backup. For that the source would have to be set first.
Add backup
Here we can create and save a backup
Edit backup
Here we can edit and save a backup
Delete backup
With this menu we can delete a backup AND it's data!
Restic menu
Init
We will use this restic command
restic -r /home/frank/restic_test/ init
Backup
We will use this restic command
restic -r /home/frank/restic_test/ backup /home/frank/Bilder --exclude-file=excludes.txt
Mount
We will use this restic command
restic -r /home/frank/restic_test/ mount /tmp/restic
UMount
We will use this command
umount mount_path
Restore
We will use this restic command
restic -r /srv/restic-repo restore <ID> --target /tmp/restore-work
You will be ask for a snapshot <ID>. Use Tools/Snapshots and copy and paste the <ID>
Tools menu
Snapshots
We will use this restic command
restic -r /home/frank/restic_test/ snapshots
Example output
reading repository password from stdin
ID        Time                 Host           Tags        Paths
----------------------------------------------------------------------------
af5080e4  2021-08-04 21:22:10  frank-MS-7C37              /home/frank/Bilder
----------------------------------------------------------------------------
1 snapshots
List Snapshot
We will use this restic command
restic -r /home/frank/restic_test/ ls <ID>
Example output
reading repository password from stdin
snapshot af5080e4 of [/home/frank/Bilder] filtered by [] at 2021-08-04 21:22:10.320165238 +0200 CEST):
/home
/home/frank
/home/frank/Bilder
/home/frank/Bilder/20210603_161.zip
/home/frank/Bilder/20210603_161548.jpg
/home/frank/Bilder/20210603_161601.jpg
/home/frank/Bilder/20210721_140856.jpg
/home/frank/Bilder/20210722_101305.jpg
/home/frank/Bilder/Bildschirmfoto vom 2021-06-15 17-39-09.png
/home/frank/Bilder/Bildschirmfoto vom 2021-06-24 18-48-52.png
/home/frank/Bilder/Bildschirmfoto vom 2021-06-24 18-49-55.png
/home/frank/Bilder/Cinebar
............
Check
We will use this restic command
restic -r /home/frank/restic_test/ check
Unlock
We will use this restic command
restic -r /home/frank/restic_test/ unlock
Stats
We will use this restic command
restic -r /home/frank/restic_test/ stats
Prune
We will use this restic command
restic -r /home/frank/restic_test/ forget --keep-last 3 --keep-monthly 3 --prune
Version
We will use this command
restic version
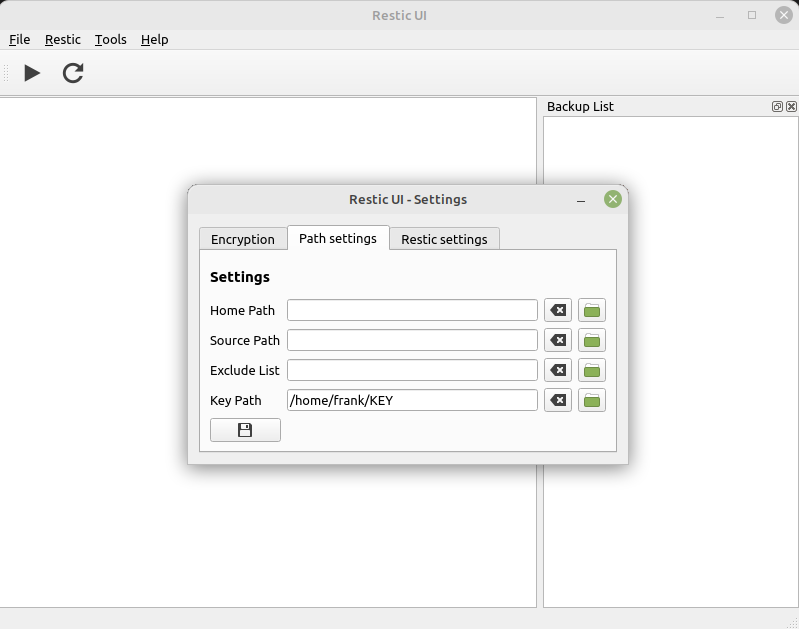
Settings
Here you can store
Tab Encryption
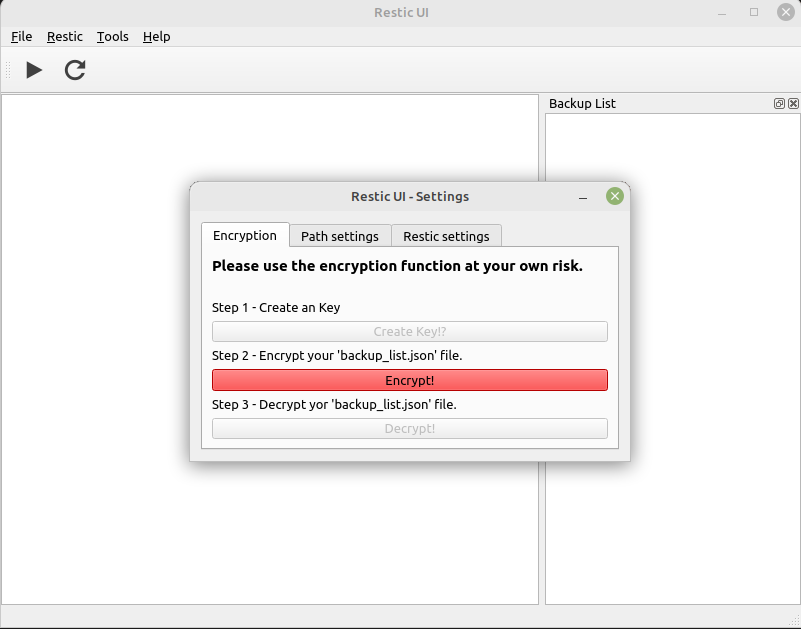
Tab Paths
- home path
- source path
- exclude list
- Key Path
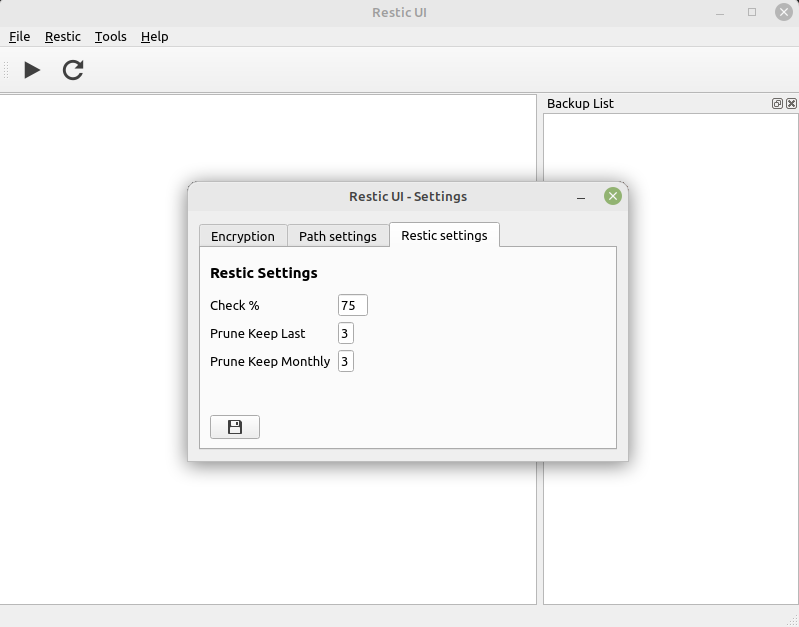
Tab Restic Settings
Here we can set some restic parameters
- check --read-data subset 75%
Then restic will only load 75% from data to check
- prune keep last (0 - 9)
- prune keep monthly (0 - 12)
--keep-last n never delete the n last (most recent) snapshots
--keep-monthly n for the last n months which have one or more snapshots, only keep the last one for that month.
Quelle: https://restic.readthedocs.io/en/latest/060_forget.html
Migrate menu
Since restic version 0.14.0 compression has been added.
The repo format has changed.
There is the restic migrate command to migrate old repos V1 to V2.
For this there is a new menu 'Migrate' with two commands
migrate check and migrate update
Migrate Check
Migrate check will show available migrations for the repo.
Migrate Update
Attention. I am using
export RESTIC_PASSWORD="I9n7G7G0ZpDWA3GOcJbIuwQCGvGUBkU5"
because migrate update expects a password entry twice.
Migrate Update will change repo version from V1 to V2. No data will be compressed, only with a new backup the data will be saved compressed.
For more infos read -> https://linux-nerds.org/topic/1257/restic-ui-migrate
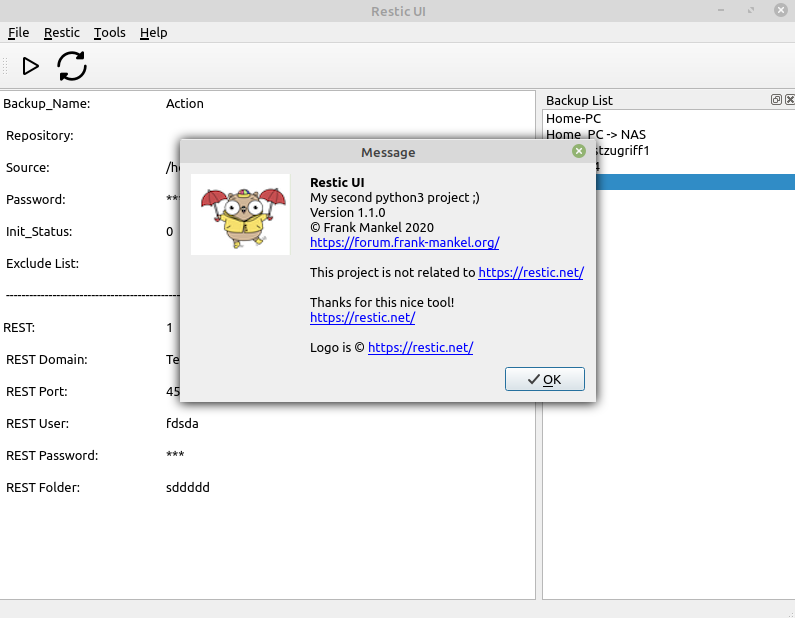
Help menu
About Restic UI
Restic documentation
Restic documentation you can read here
Translated with www.DeepL.com/Translator (free version)