Da btrfs bei mir ja nicht so der Bringer war, Fehler im Image vom Kamil?, Fehler in btrfs? Ich weiß es nicht, also weg damit! Da ich das NAS noch richtig produktiv genutzt hatte, waren die Daten schnell gesichert. Danach das NAS neugestartet, nun sind die beiden Platten nicht mehr gemountet und wir können damit arbeiten.
ACHTUNG! Ich bitte wie immer darum, das Gehirn ab hier einzuschalten! Sonst droht Datenverlust!
Aus Sicherheitsgründen gebe ich hier die Laufwerke so an = sdX1
Das X bitte entsprechend austauschen!
Die beiden Platten mit
sudo fdisk /dev/sdX
neu einrichten. Alte Partition weg, neu einrichten usw. Im Detail gehe ich hier jetzt nicht drauf ein. Ich gehe davon aus, das das bekannt ist.
Der Plan
raid_pool0 = sdX1 = /dev/mapper/raid_pool0
raid_pool1 = sdX1 = /dev/mapper/raid_pool1
Verschlüsseln
sudo cryptsetup --key-size 512 --hash sha256 --iter-time 5000 --use-random luksFormat /dev/sdX1
sudo cryptsetup --key-size 512 --hash sha256 --iter-time 5000 --use-random luksFormat /dev/sdX1
Platten entschlüsseln
sudo cryptsetup open /dev/sdX1 raid_pool0
sudo cryptsetup open /dev/sdX1 raid_pool1
RAID1 anlegen
sudo mdadm --create /dev/md0 --auto md --level=1 --raid-devices=2 /dev/mapper/raid_pool0 /dev/mapper/raid_pool1
sudo mkfs.ext4 /dev/md0
Script zum Entschlüsseln und Mounten crypt.sh
#!/bin/bash
###############################################################################$
# Autor: Frank Mankel
# Verschlüsseltes Raid1 einbinden!
#
# Hardware:
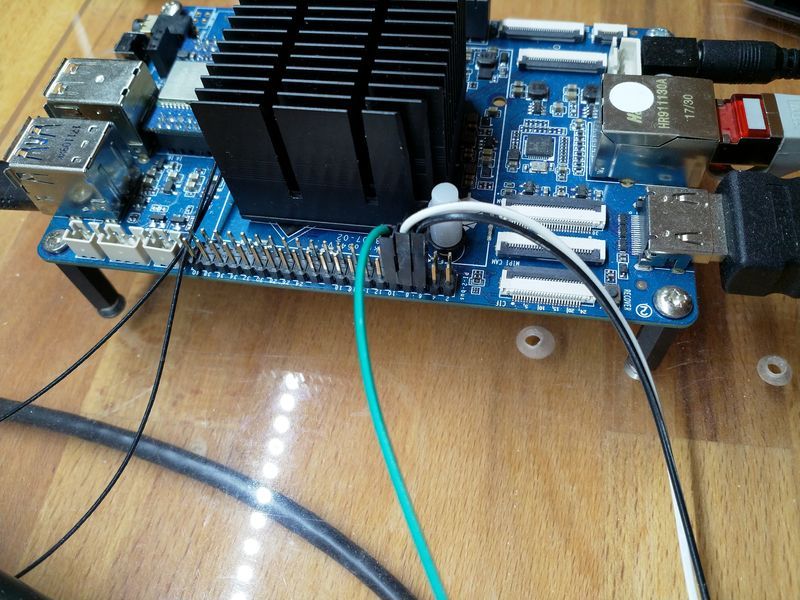
# ROCKPro64v2.1
# PCIe SATA Karte
# 2St. 2,5 Zoll HDD Platten a 2TB
#
# Software:
# bionic-minimal 0.7.9
# Kontakt: frank.mankel@gmail.com
#
###############################################################################$
#Passwort abfragen
echo "Passwort eingeben!"
read -s password
echo "Bitte warten......"
#Passwörter abfragen
echo -n $password | cryptsetup open /dev/sdX1 raid_pool0 -d -
echo -n $password | cryptsetup open /dev/sdX1 raid_pool1 -d -
#Raid1 mounten
mount /dev/md0 /mnt/raid
echo "Laufwerke erfolgreich gemountet!"
Bis jetzt sieht das Raid ok aus, ich werde das die nächsten Tage mal ein wenig im Auge behalten.
[ 82.430293] device-mapper: uevent: version 1.0.3
[ 82.430430] device-mapper: ioctl: 4.39.0-ioctl (2018-04-03) initialised: dm-devel@redhat.com
[ 108.196397] md/raid1:md0: not clean -- starting background reconstruction
[ 108.196401] md/raid1:md0: active with 2 out of 2 mirrors
[ 108.240395] md0: detected capacity change from 0 to 2000260497408
[ 110.076860] md: resync of RAID array md0
[ 110.385099] EXT4-fs (md0): recovery complete
[ 110.431715] EXT4-fs (md0): mounted filesystem with ordered data mode. Opts: (null)
[57744.301662] md: md0: resync done.